Setting your preferences
As a user, you can manage your personal settings.
To access your personal settings:
Click your profile picture to open the menu.
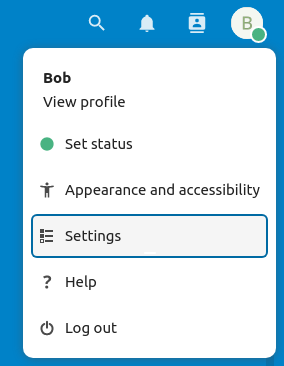
Click Settings in the dropdown menu to open your personal settings.
Note
If you are an administrator, you can also manage users and administer the server. These links do not appear to a non-administrator user.
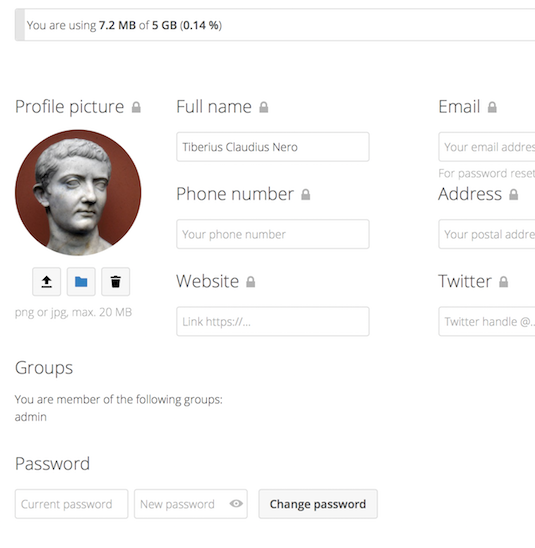
The options listed in the Personal Settings Page depend on the applications that are enabled by the administrator. Some of the features you will see include the following:
Usage and available quota
Manage your profile picture
Full name (You can make this anything you want, as it is separate from your Nextcloud login name, which is unique and cannot be changed)
Email address
List of your Group memberships
Change your password
User preferences
Choose the language for your Nextcloud interface
Choose your preferred first day of the week
Links to desktop and mobile apps
Manage your Activity stream and notifications
Default folder to save new documents to
Your Federated sharing ID
Social sharing links
Nextcloud version
Note
Available options and settings depend on your administrator’s configuration. If you are not able to change the password or the display name in your personal settings, please contact your administrator for help.
Sharing your data in the global address book
Some administrators share their global address book with other Nextcloud instances (so-called Trusted Servers) or even with the wider world. This is helpful when two instances want to work closely together, or when people want to use Nextcloud as a virtual telephone book for others to browse. It also allows searching for contacts, creating shares, and much more.
You can change what personal data is shared by setting the scope of your data. Click the lock icon to open the following dropdown next to each entry:
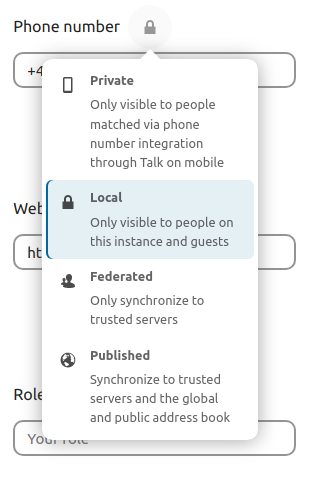
If you set your data to Private, nobody but you will be able to see it.
If you set your data to Local, all logged-in users within your Nextcloud instance will be able to see the information, but no one outside of it.
If you set your data to Federated, the trusted server(s) added by your administrator will be able to see this data, in addition to all logged-in users.
If you set your data to Published, anyone can see your data. This is useful in some cases. Someone with a public-facing role such as marketing or sales might want to share their contact details with a wide variety of connections who might not be using Nextcloud.
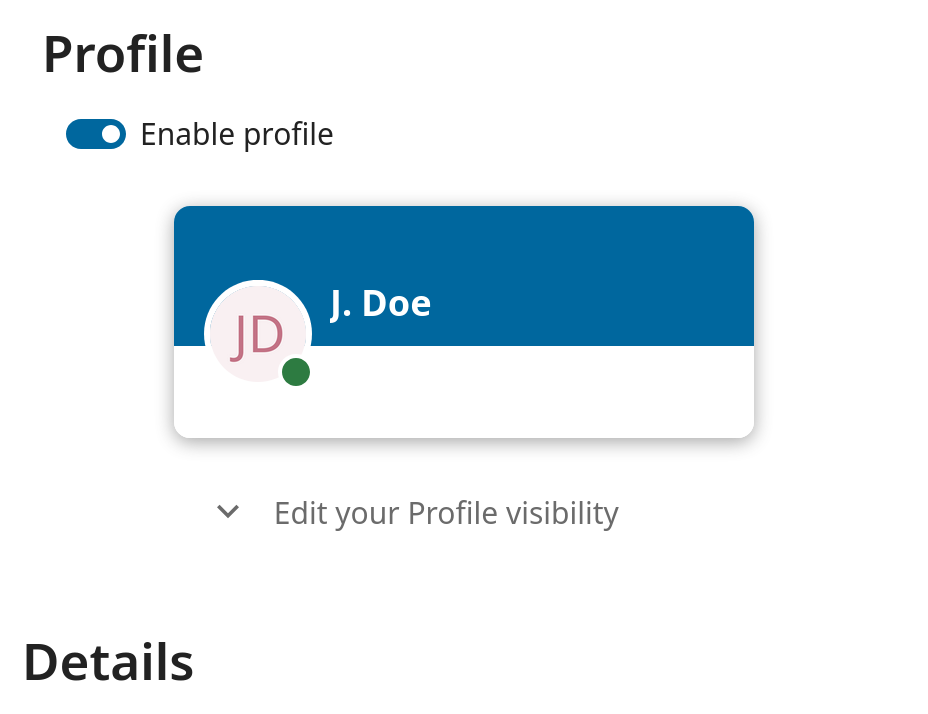
Restrict who can see your profile data
If the profile is enabled by your administrator, your profile data can be read by other users and guests. To control who can see which information, adjust the scopes mentioned above:
Private will only allow you and users you have added to your phone book to see the data.
Local and above will also allow guests to see your data.
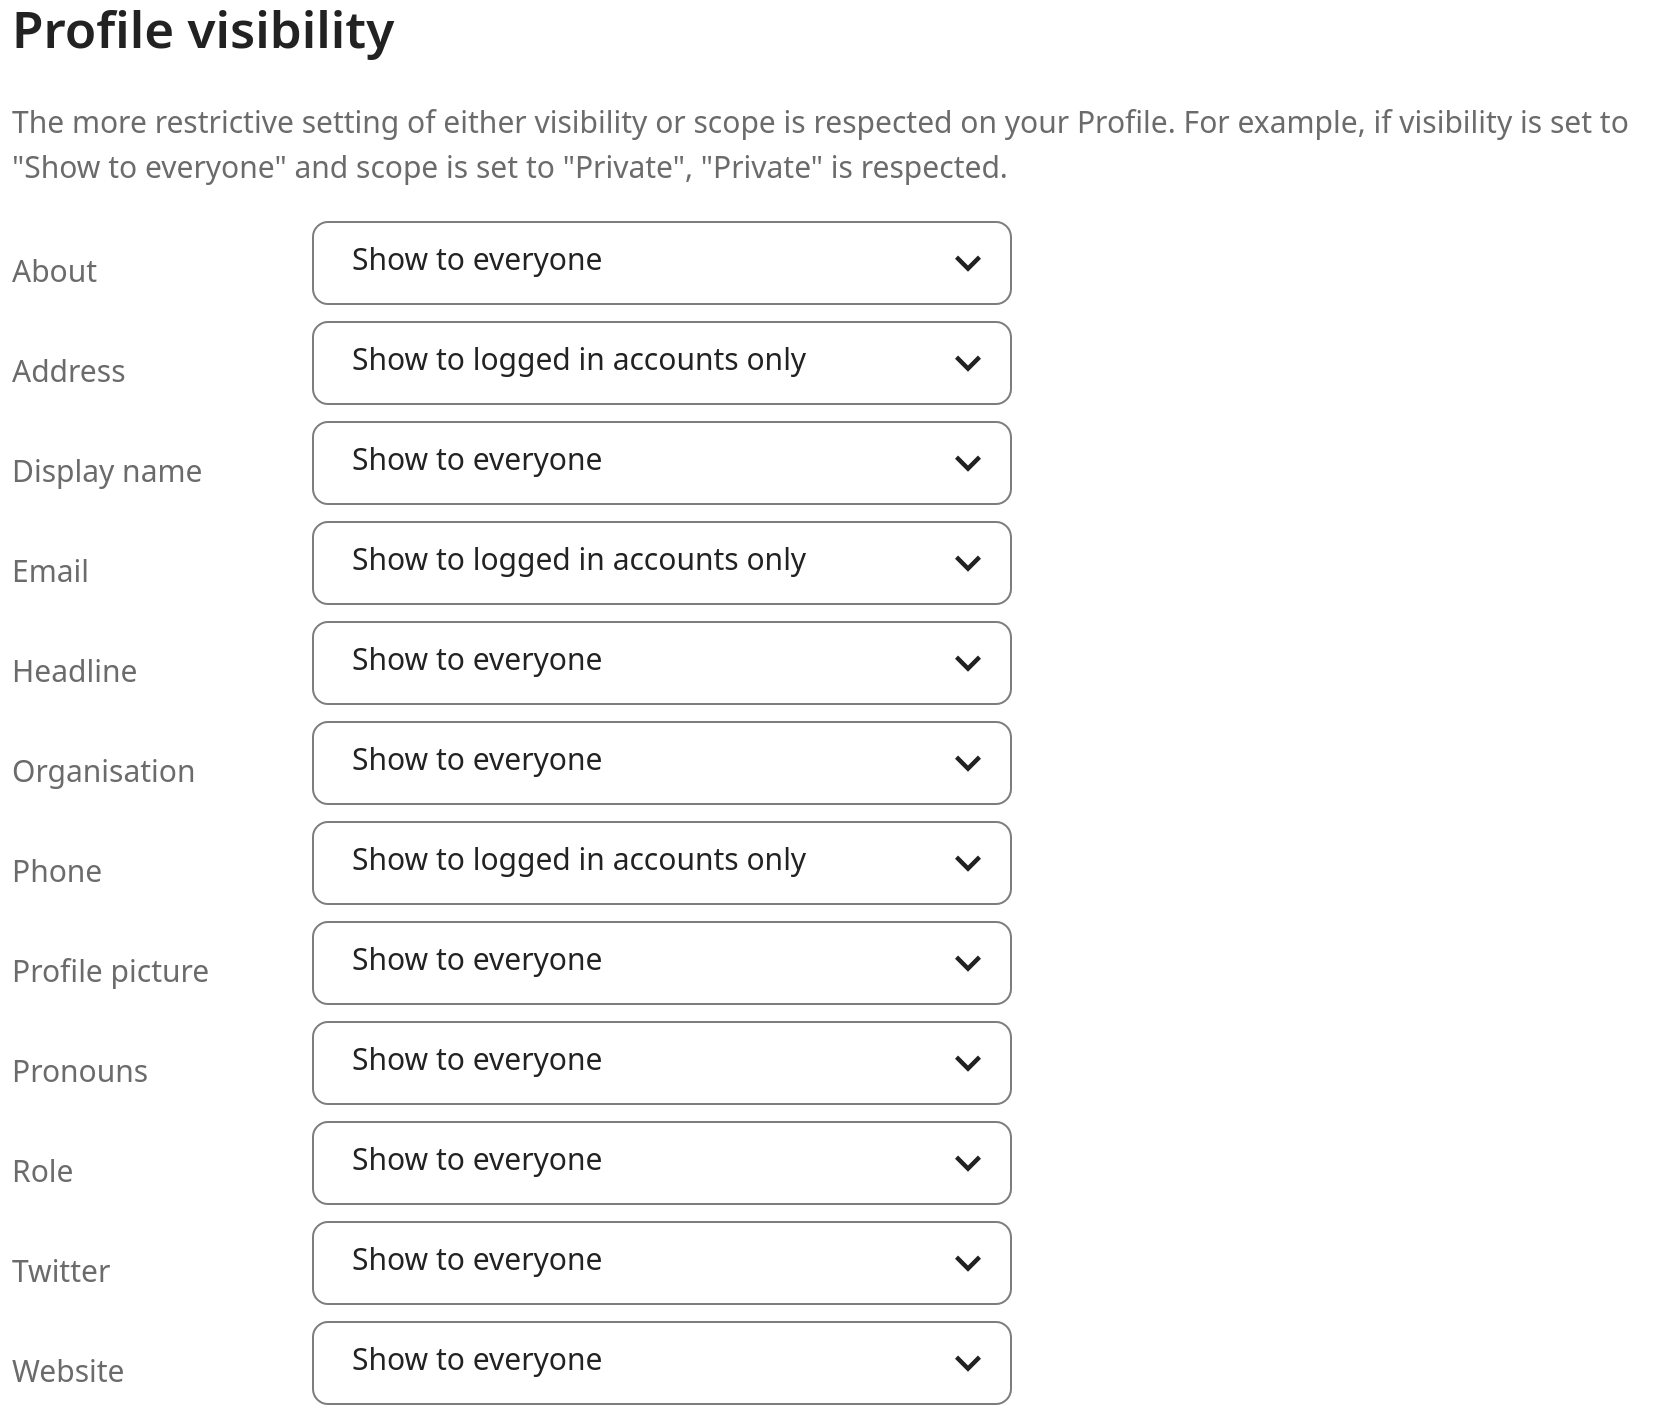
To restrict the visibility further, you can prevent guests from seeing your profile data by changing the profile visibility to logged-in users. In your personal settings, find the profile visibility button:
This allows you to configure the visibility for each profile attribute: